How to Add a New Item to Minecraft Without Coding
Swords, tools, gadgets, and magic items: how to describe a custom item so Creator Hub builds it right, and how to get it into your game.
A custom item is the best first mod. It's one feature, you can see it in the creative inventory within minutes, and every part of the prompt maps to something you can check in-game. This guide covers what to type, which environment to pick, and what to do after the download.
#Pick the kind of item
Decide what the item is for before you describe it. The category shapes the stats, the recipe, and the visuals.
| Kind | What it does | Examples |
|---|---|---|
| Weapon | Damage, reach, on-hit effects, PvP or mobs | Sword, bow, crossbow, dagger, mace, trident |
| Tool | Mining and farming, with speed, durability, and mining level | Pickaxe, axe, shovel, hoe, hammer, multi-tool |
| Utility | Movement and quality of life | Grapple hook, glider, torch launcher, depth scanner |
| Magic and gadgets | Abilities on a cooldown, with particles and sounds | Wand, staff, shield, teleport orb |
#Write the prompt
A full tool set is the classic starting point. This prompt produces a working Fabric build:
Create a new mod that adds a new variant of the Sword and other Tools such as Axe, Pickaxe, Shovel, and Hoe that is made using Lapis Lazuli.
The items should be blue like Lapis, add crafting recipes for the tools.
For anything beyond a reskin, spell out the details. Go through this list and answer what applies:
- Name and look. "Frostbite", blue, glowing, custom texture or a recolor of an existing one.
- Stats. Damage, attack speed, durability, mining level, enchantability.
- How you get it. Crafting recipe (say the ingredients), mob drop (say the mob and the chance), loot chest, or a command.
- What it does on use. The effect, the duration, the cooldown, and what triggers it (right-click, hit, sneak).
- Feedback. Particles, a sound, a chat or action bar message.
- Where it shows up. Creative tab and rarity.
Say the numbers
"A strong sword" gives the AI nothing to work with. "8 attack damage, 1,200 durability, 10% chance to set the target on fire for 3 seconds" gives it everything.
#Pick the right environment
Custom items add new content that every player has to see, so the mod has to be on the server and on every player's computer. In Creator Hub, set Environment to Both (or Client if it's just for your own single-player world).
A Paper or Spigot plugin cannot add a brand-new item with its own texture. Plugins run on the server only and players join with a vanilla client, so they can only reuse existing items. If you want a new sword on a public server where players won't install anything, you'll end up with a renamed diamond sword with custom abilities, which is often good enough. Read Server, Client, or Both if you're unsure.
#Generate and download
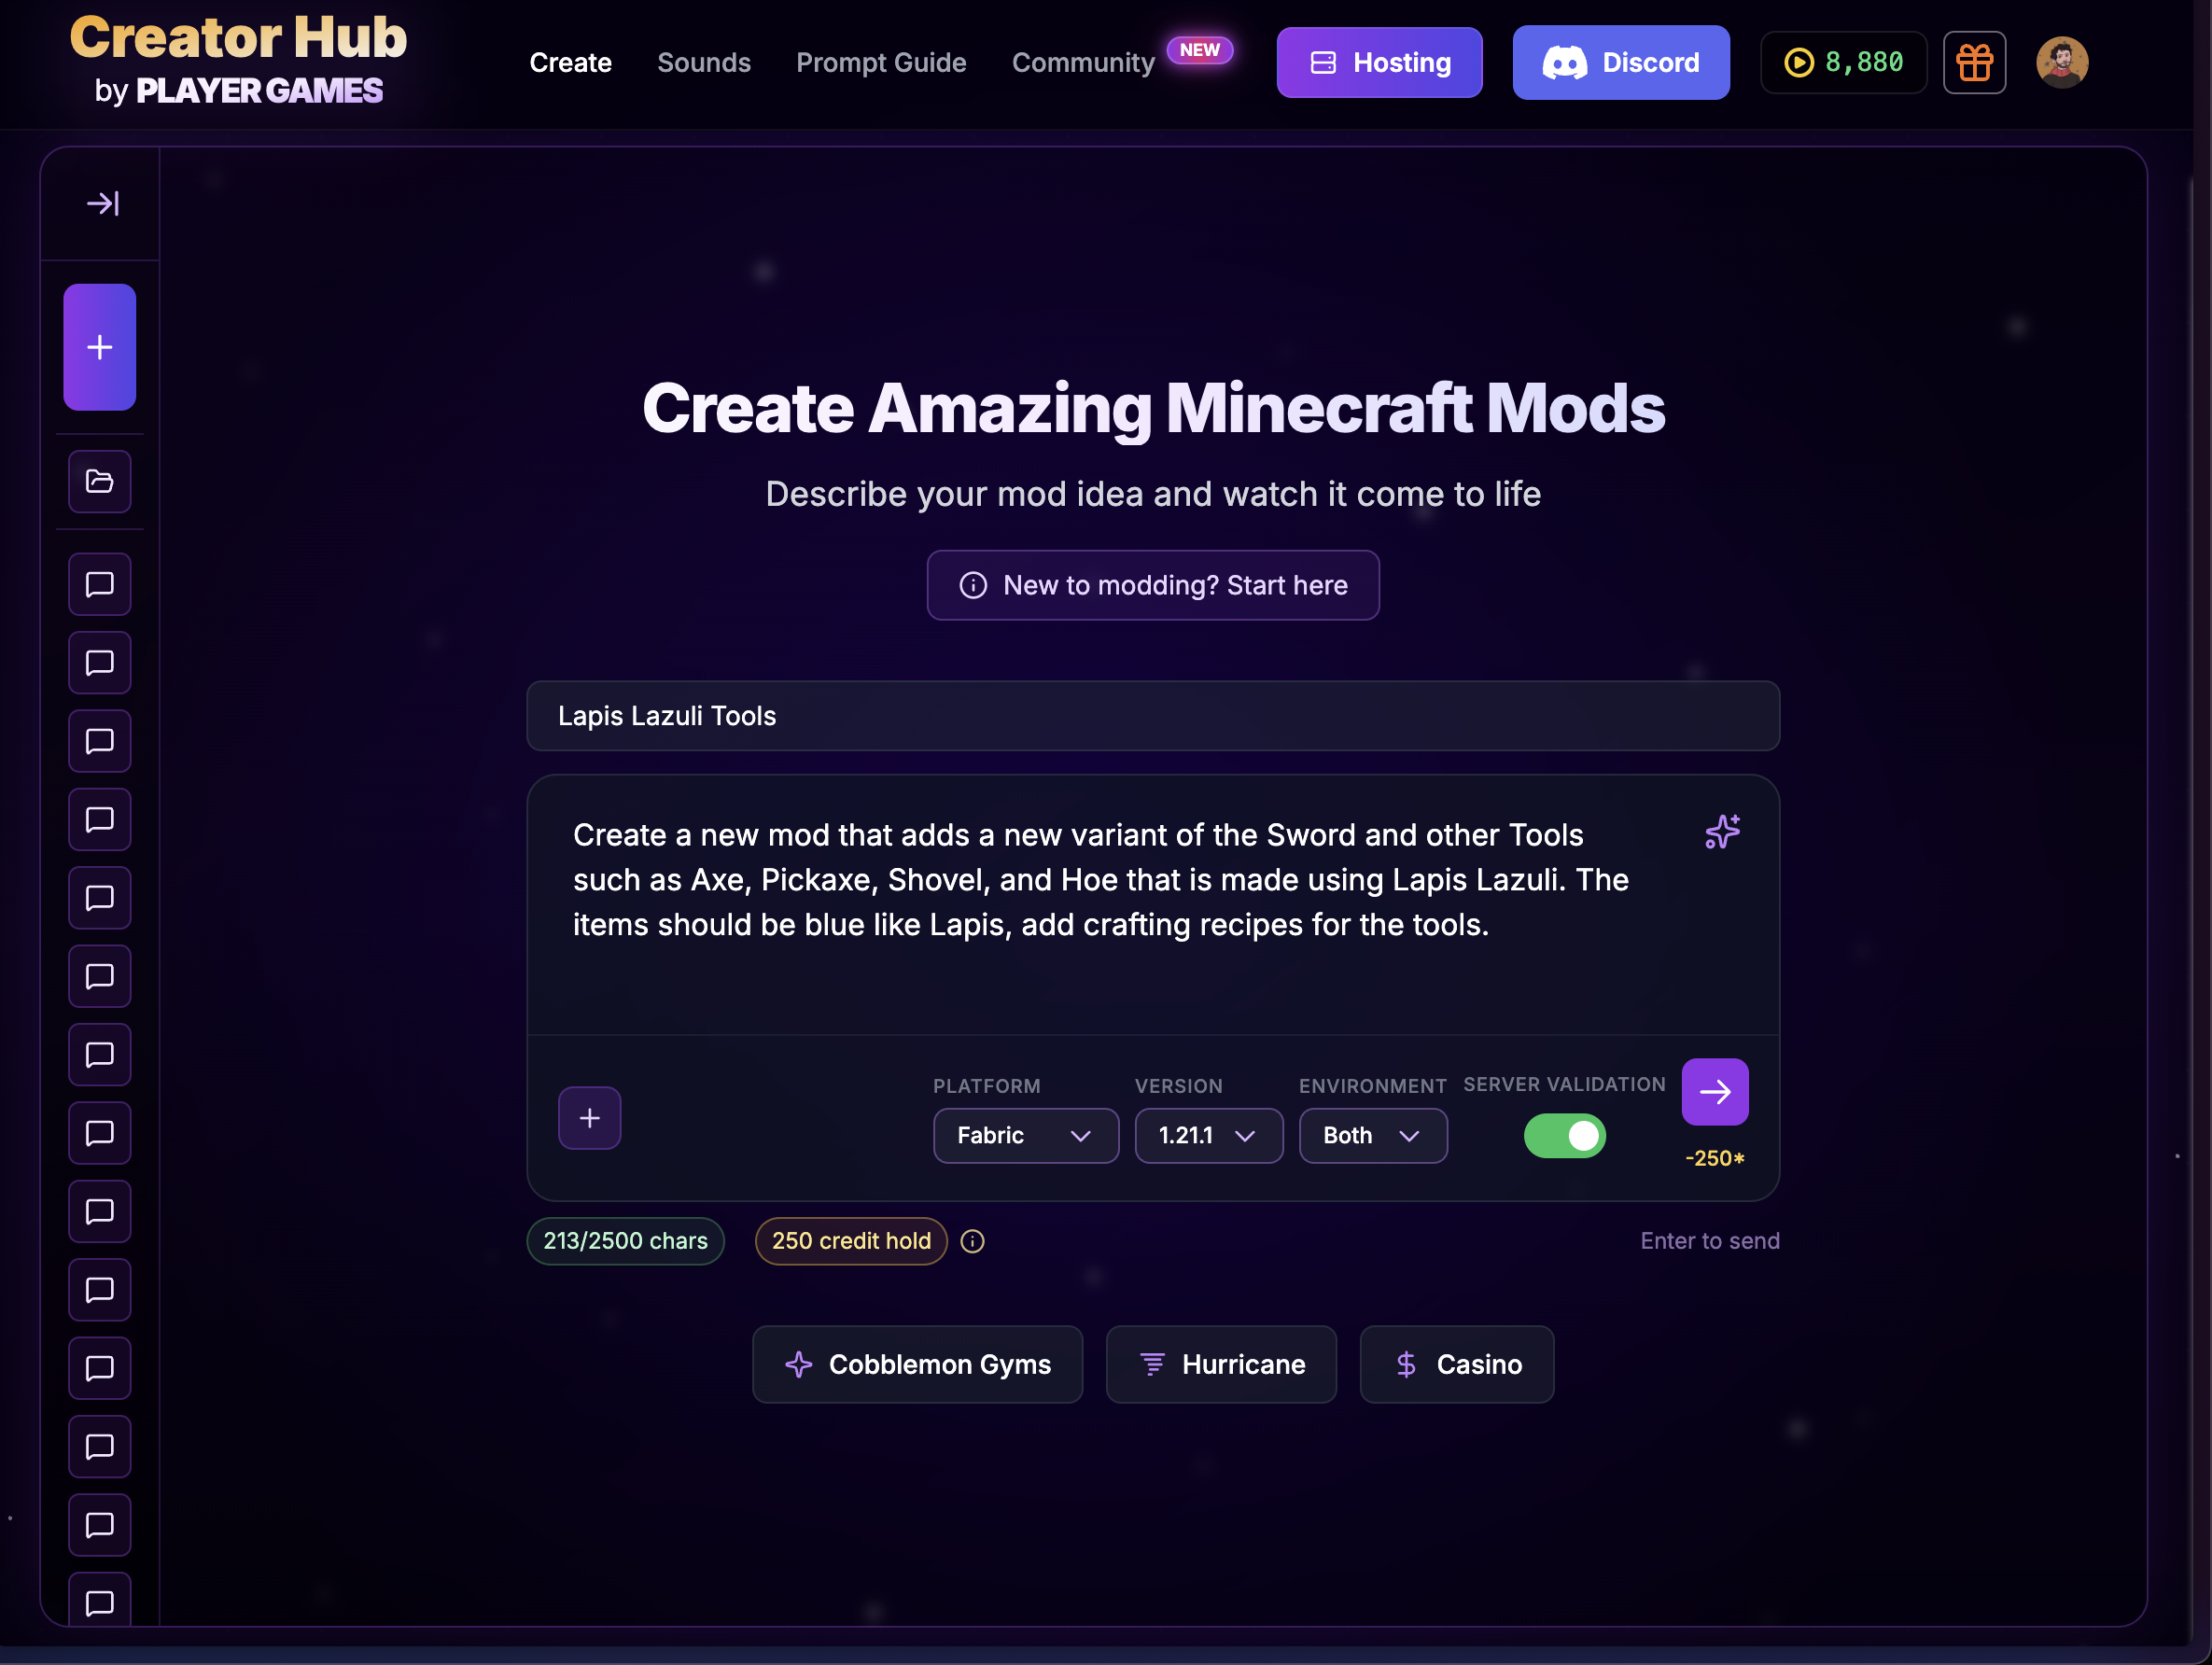
Describe the item in Creator Hub
Open the Minecraft studio, give the project a name, paste your prompt, and pick the loader, version, and environment. Choose Both so textures show up for everyone.
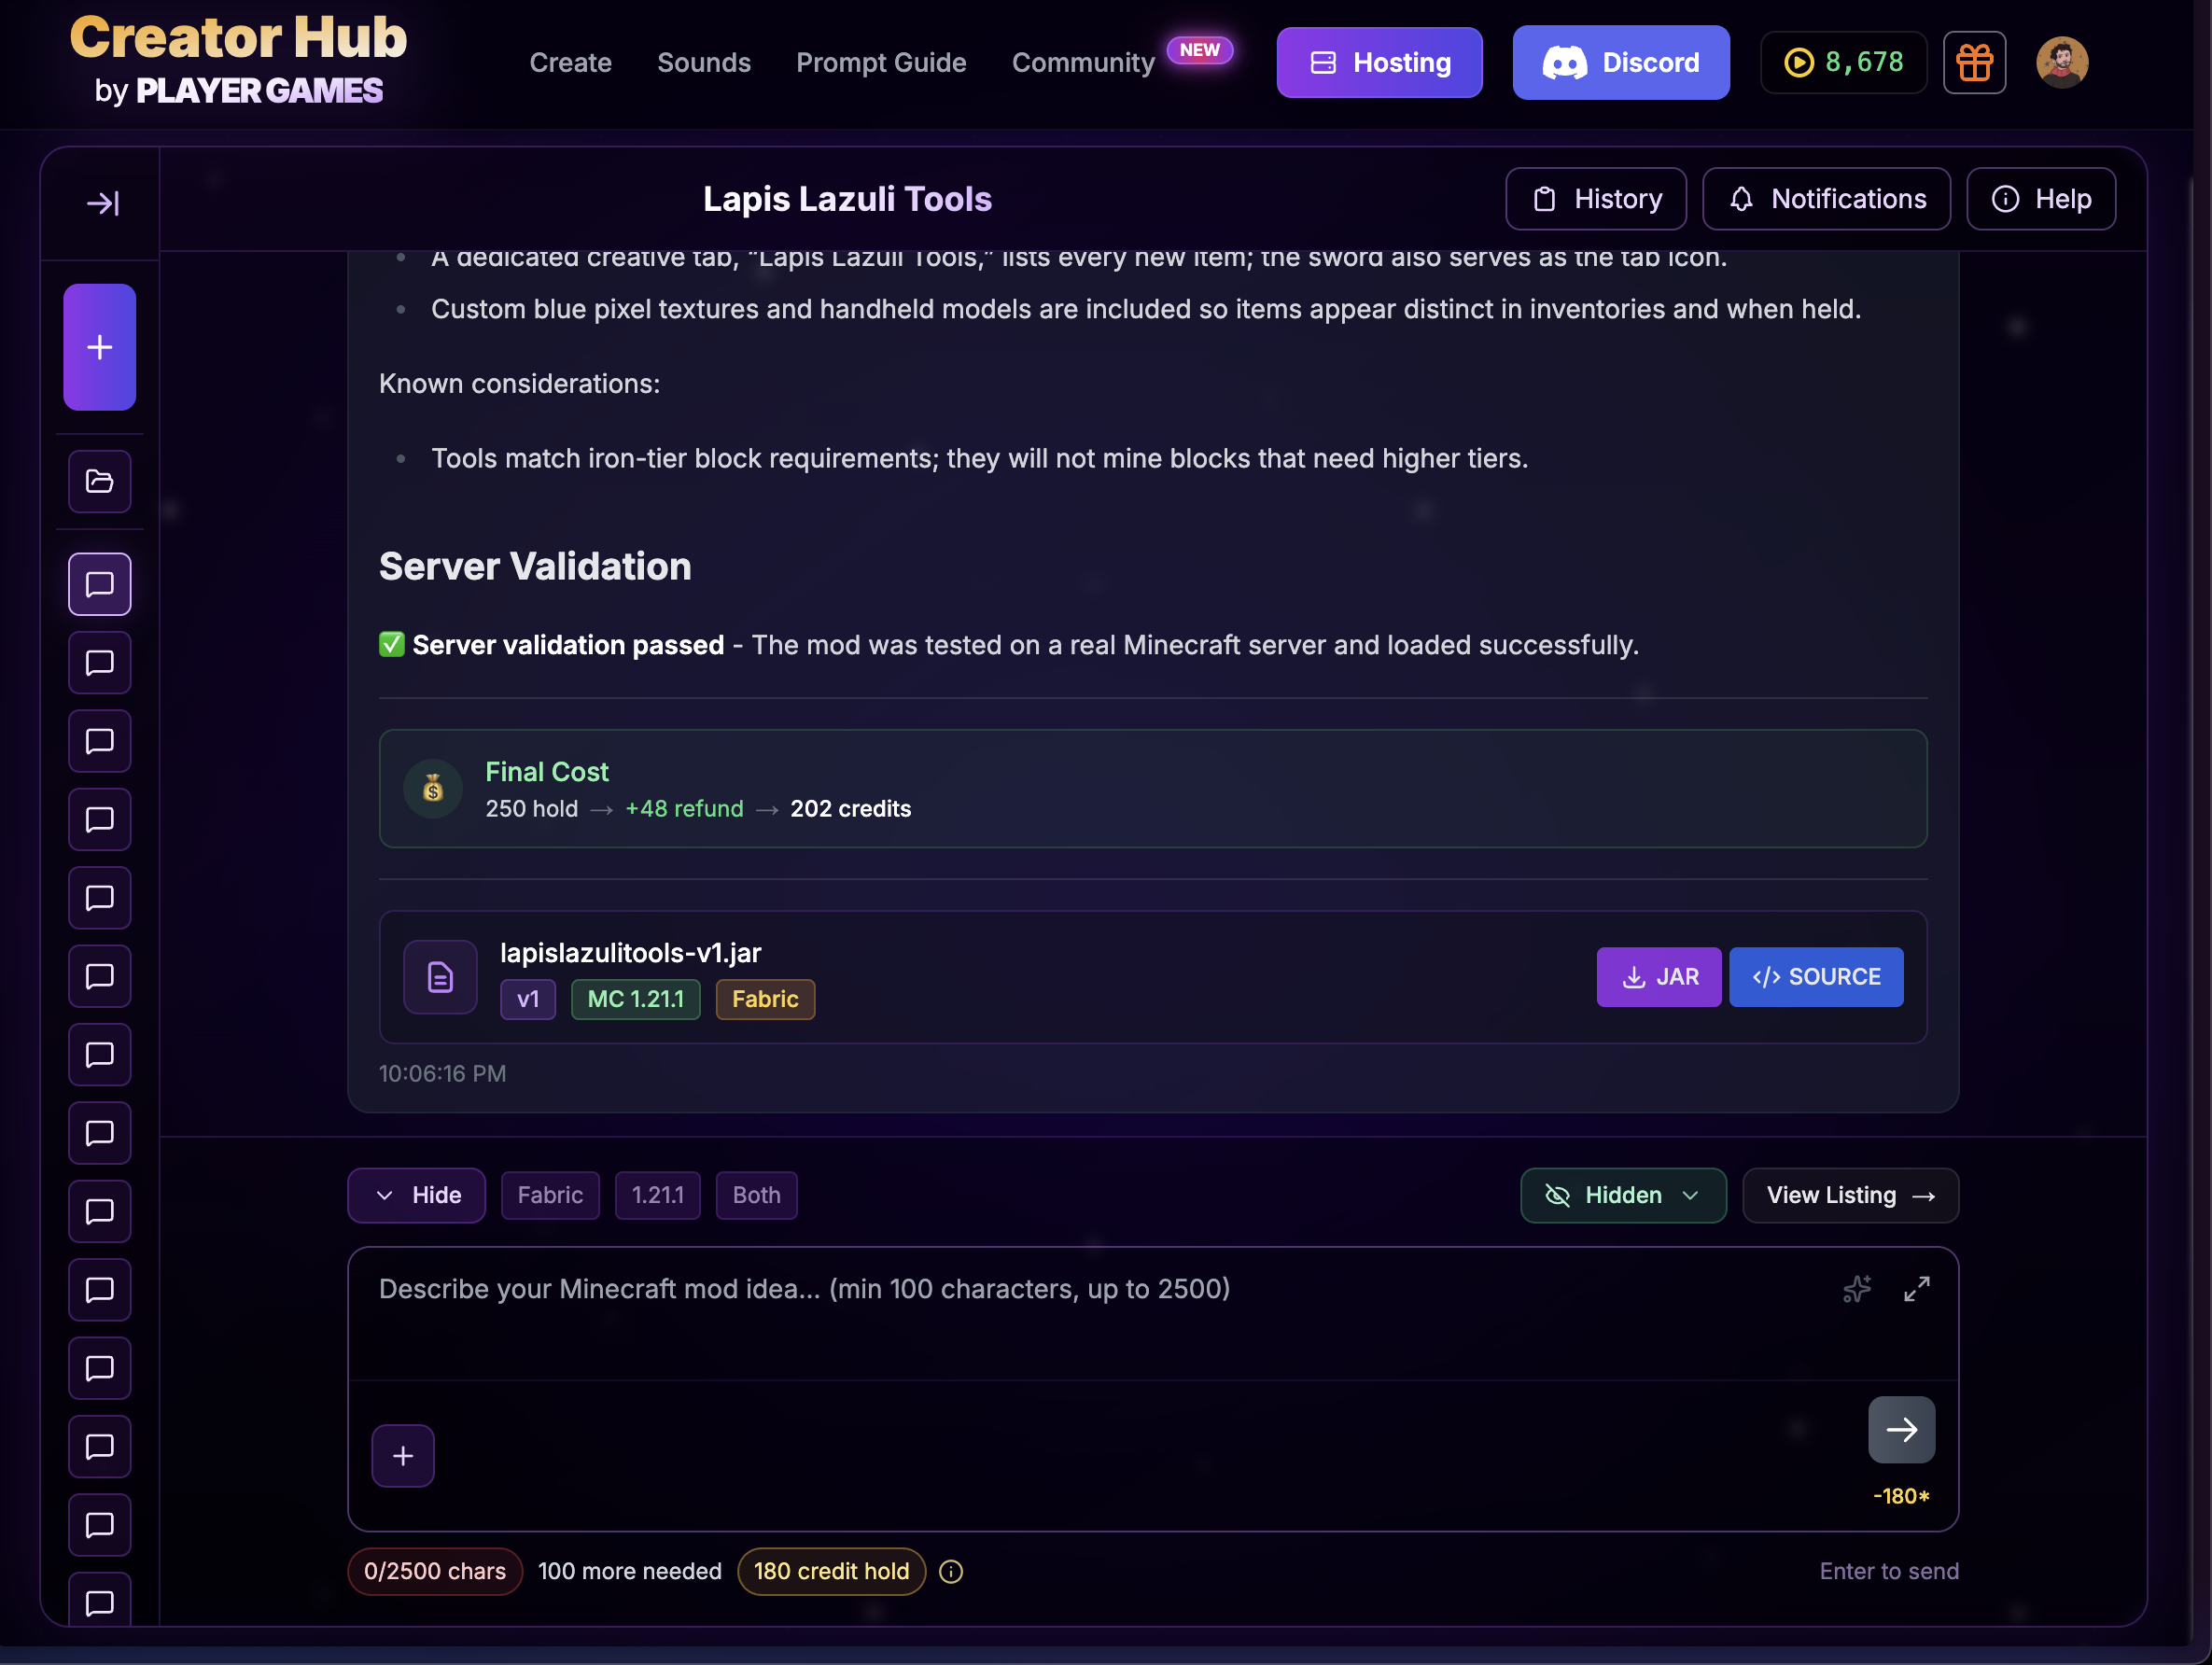
Download the build
When the build finishes, download the JAR. Drop it in your mods folder (and your server's, for Both). The source is there too if you ever want to look under the hood.
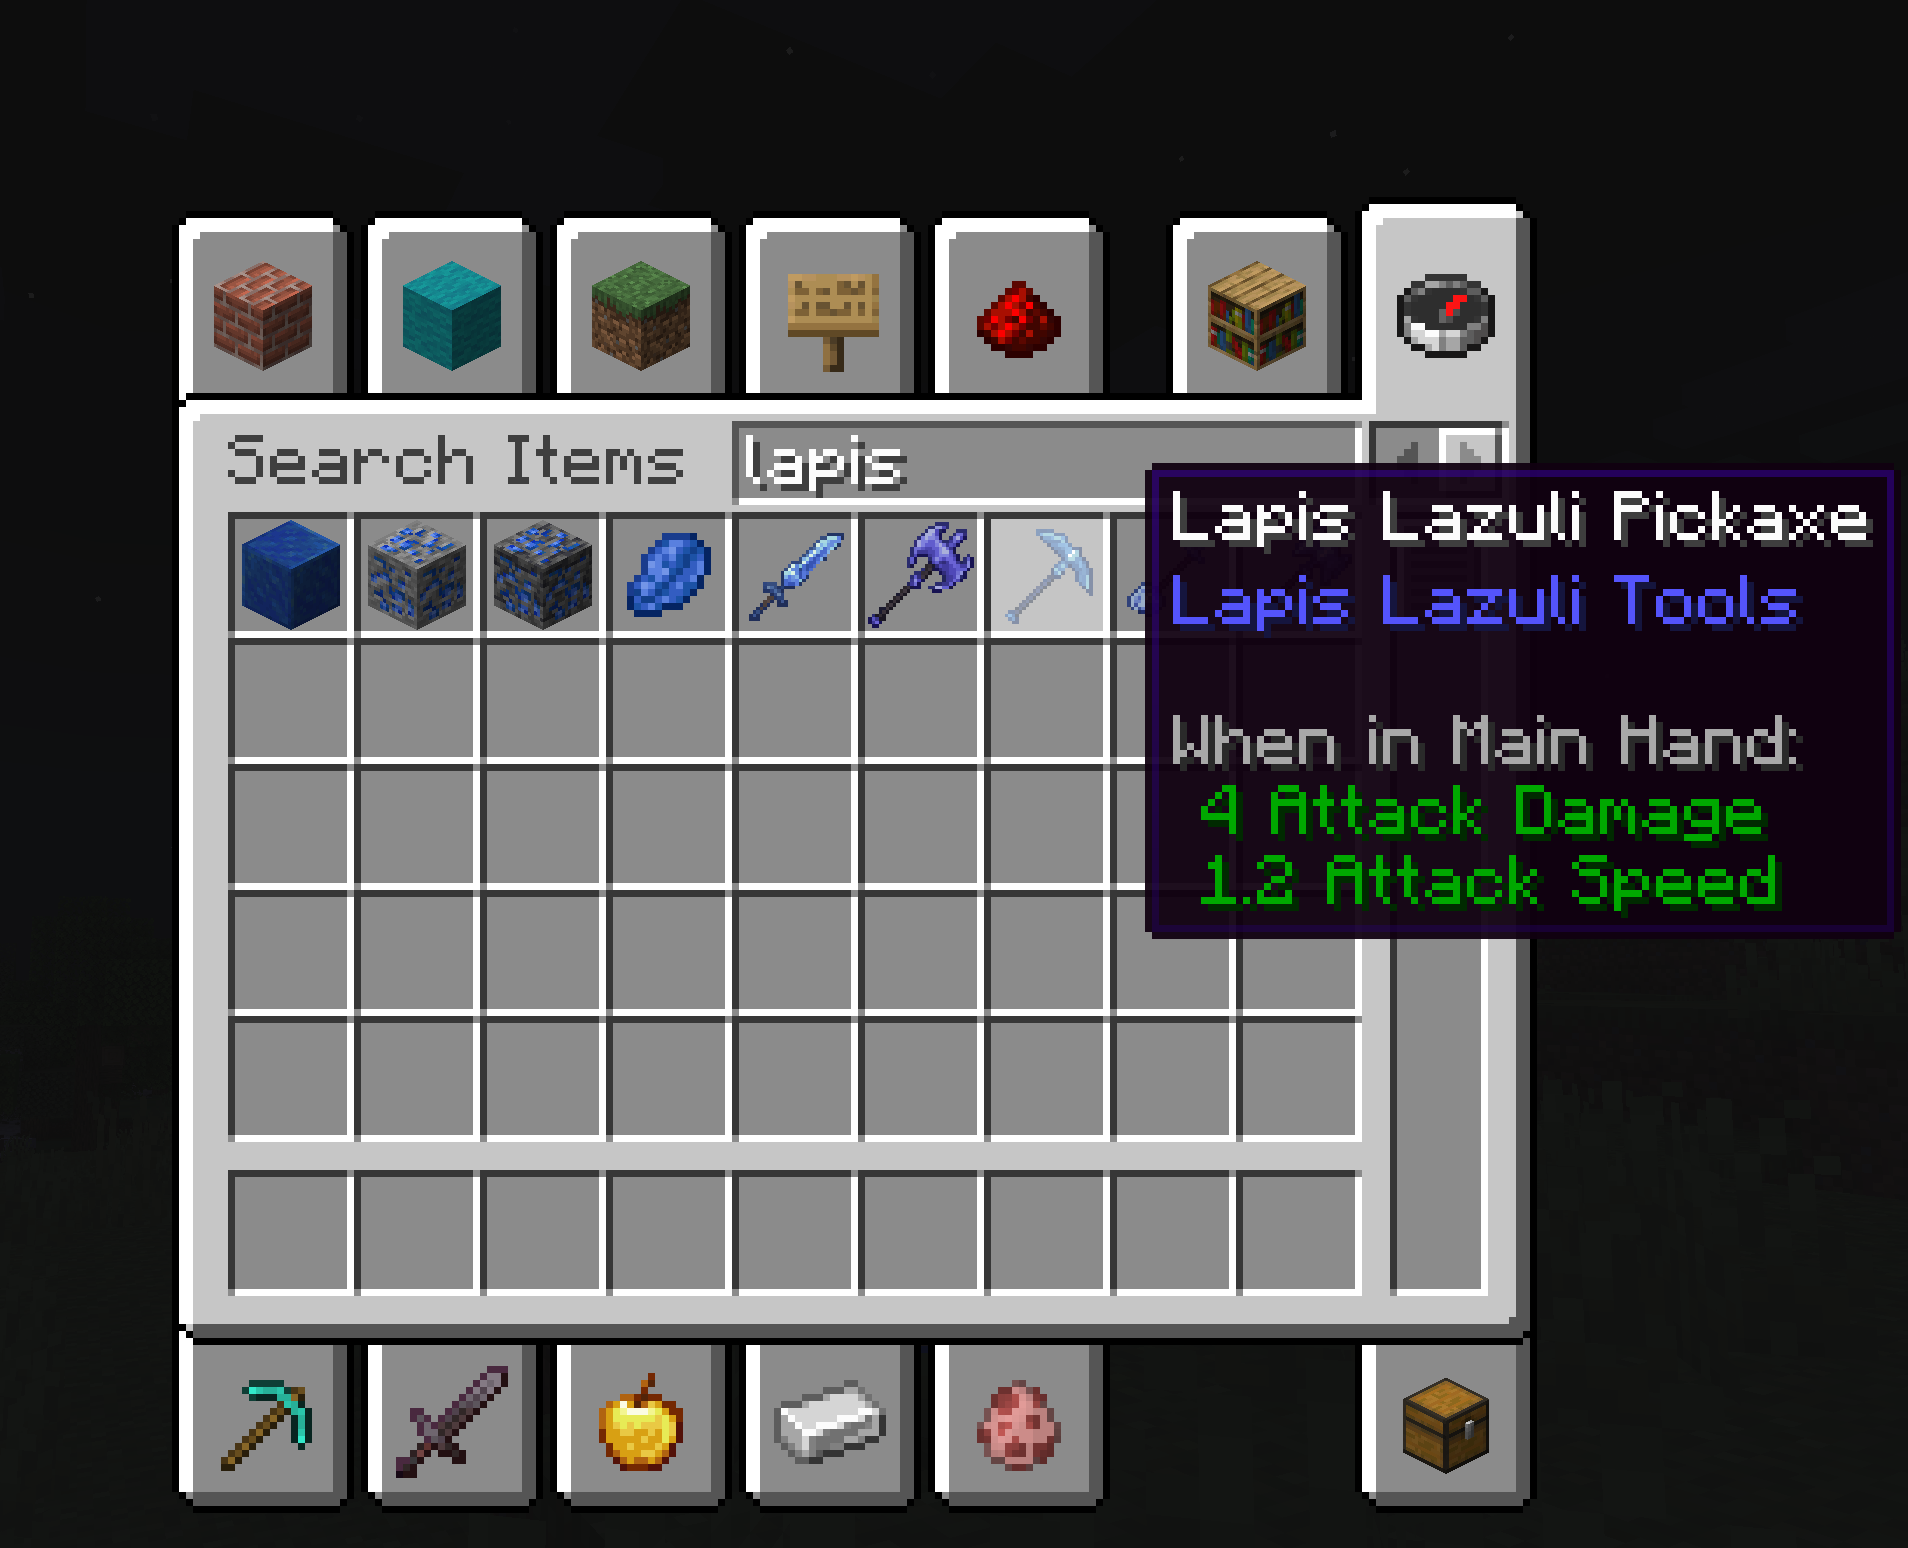
Check it in-game
Open the creative inventory, find the new items, and craft one in survival to confirm the recipe. Test in a fresh world first.
#When the item isn't right
Stay in the same project and say exactly what's off: "the pickaxe mines at stone speed, it should mine at diamond speed" or "the texture is grey, it should be blue". One fix per message. What to say when the first build isn't right has more examples.
If the item doesn't show up at all, that's an install problem, not a prompt problem. Start with the troubleshooting checklist.
Item prompt checklist
Build it yourself
Turn an idea into a working Minecraft mod
Describe it in plain English. Download the build. Drop it in your mods folder. No coding.
Start building