How to Create a Minecraft Mod with AI
Go from idea to a working mod by describing what you want in plain English, generating a build, testing it, then iterating until it plays exactly right.
#1. Create a new mod project
Open the Creator Hub and start a new mod generation.
Pick the platform you want (for example: Fabric for single-player, or a server plugin platform for multiplayer).
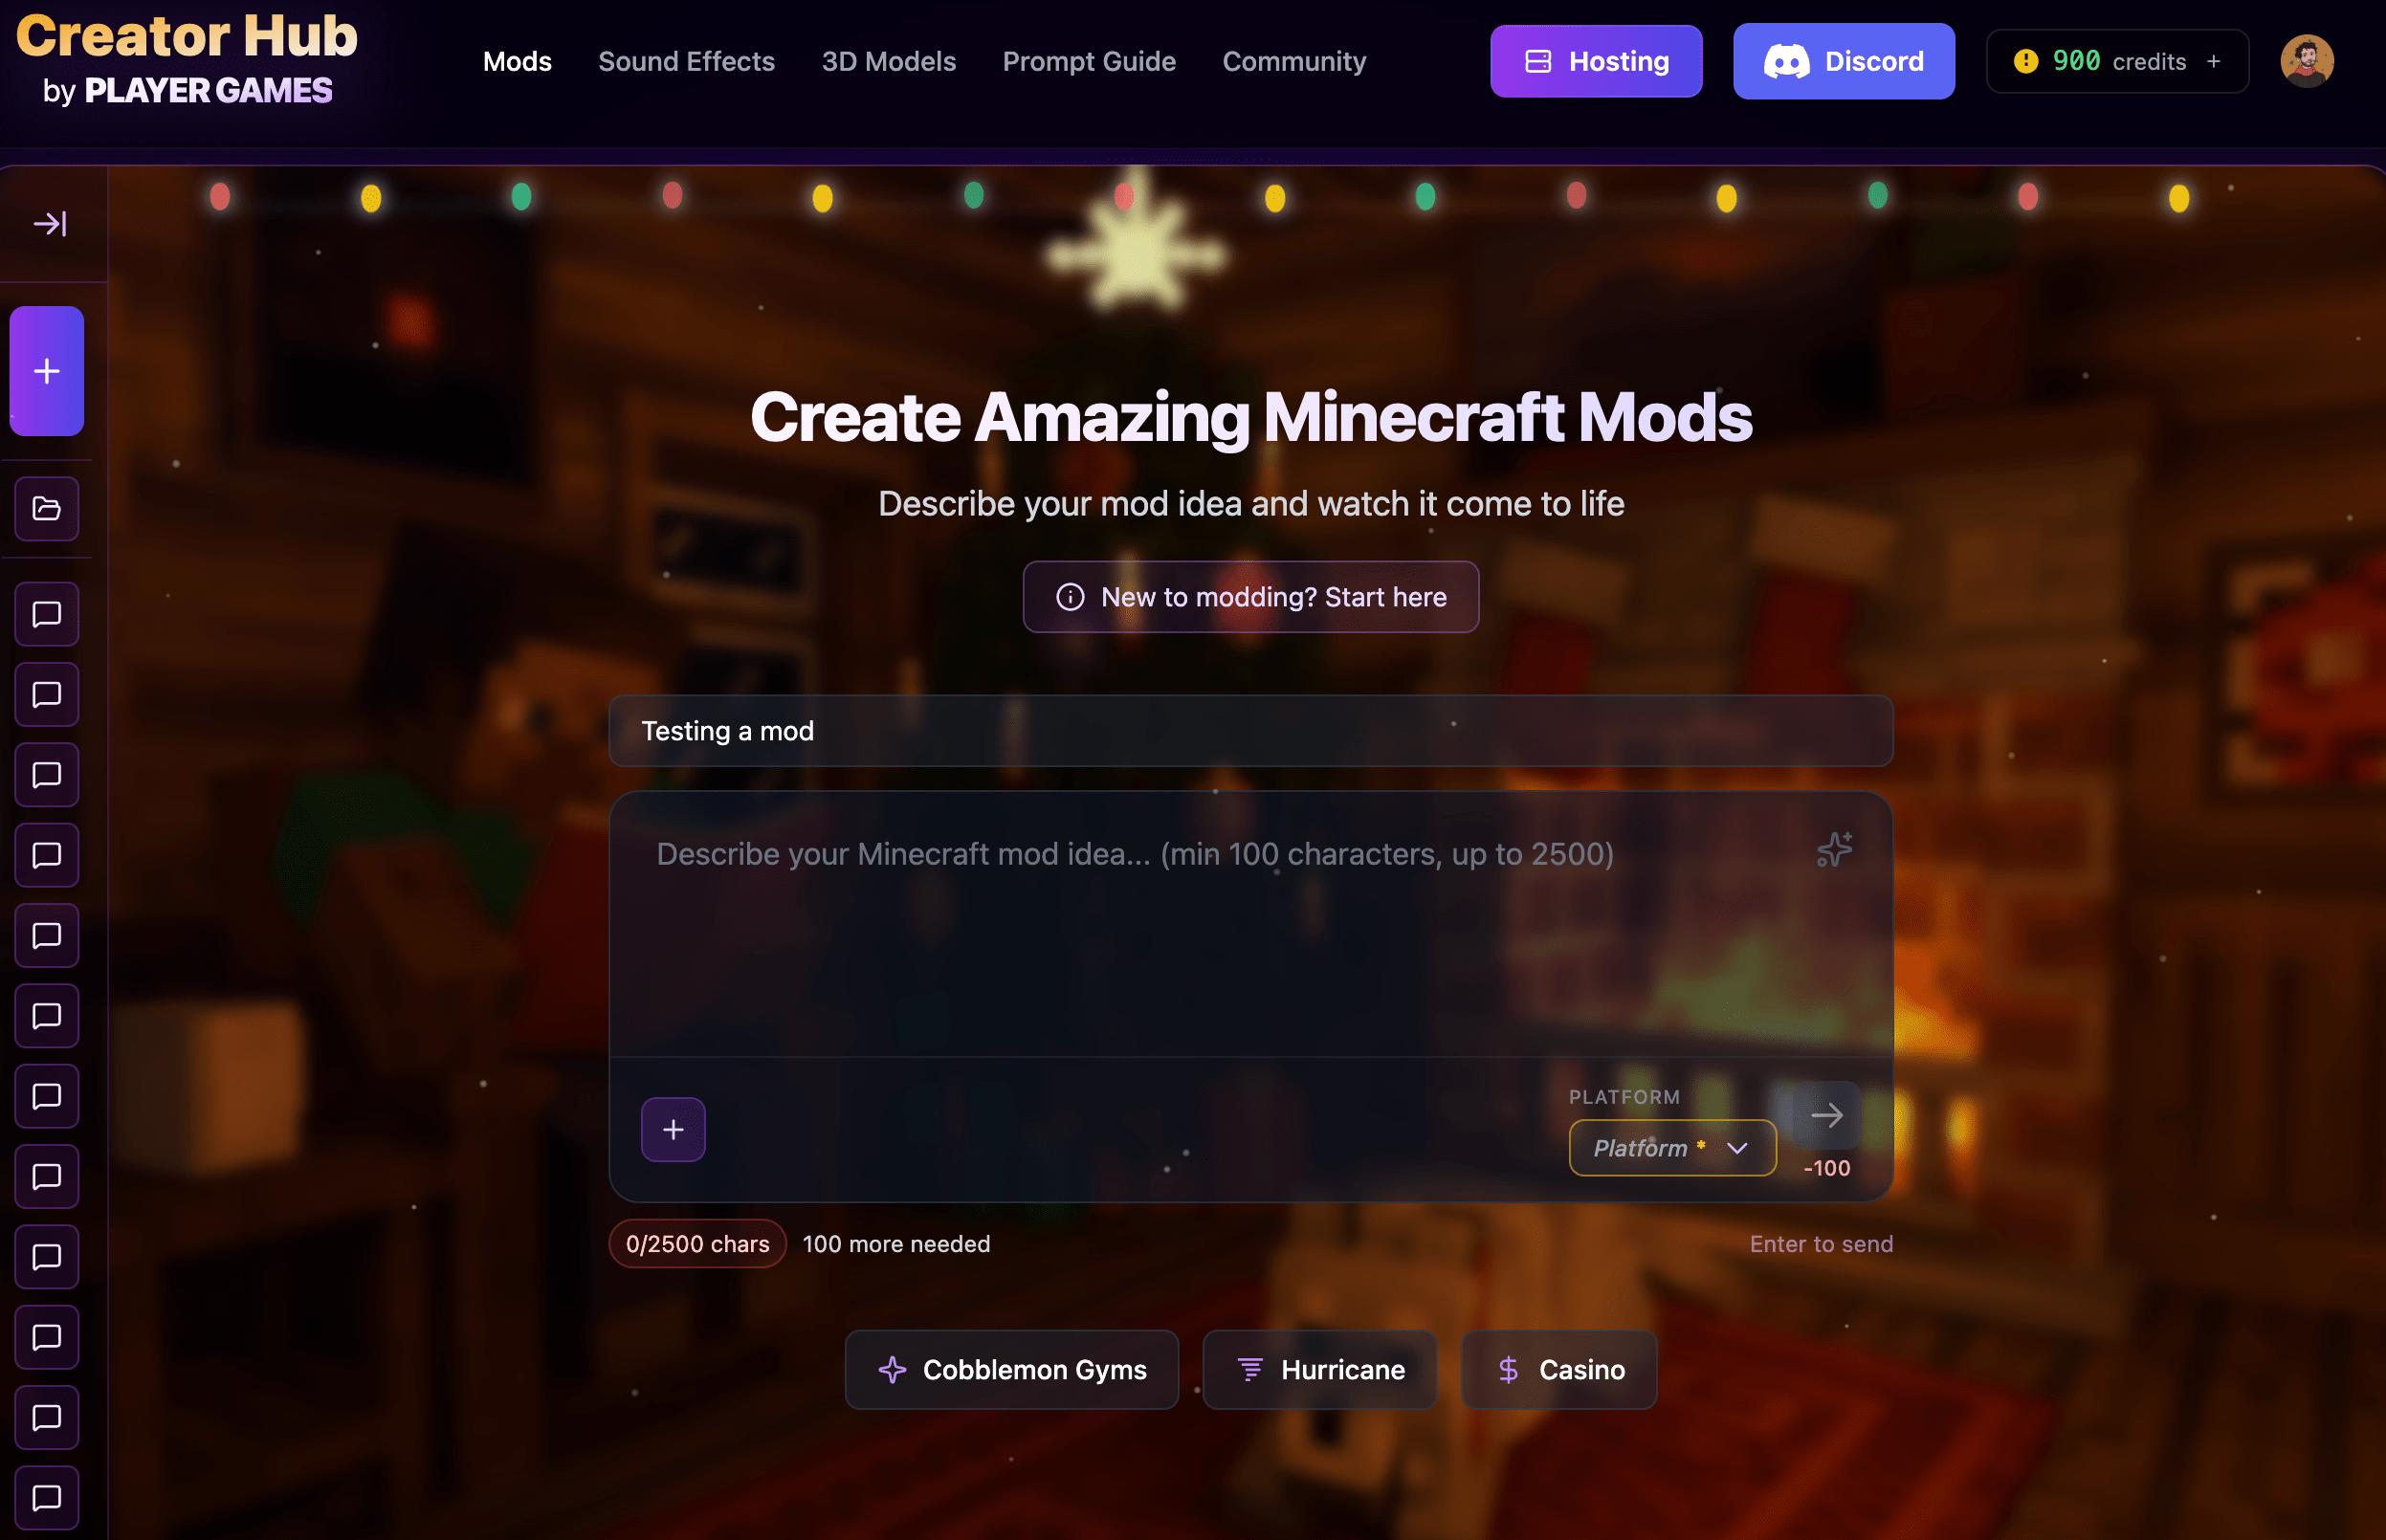
#2. Describe your mod idea in plain English
Write a clear prompt describing what the mod should do, including exact numbers, names, and rules.
If you want a good structure, start with: goal, triggers, effects, and constraints.
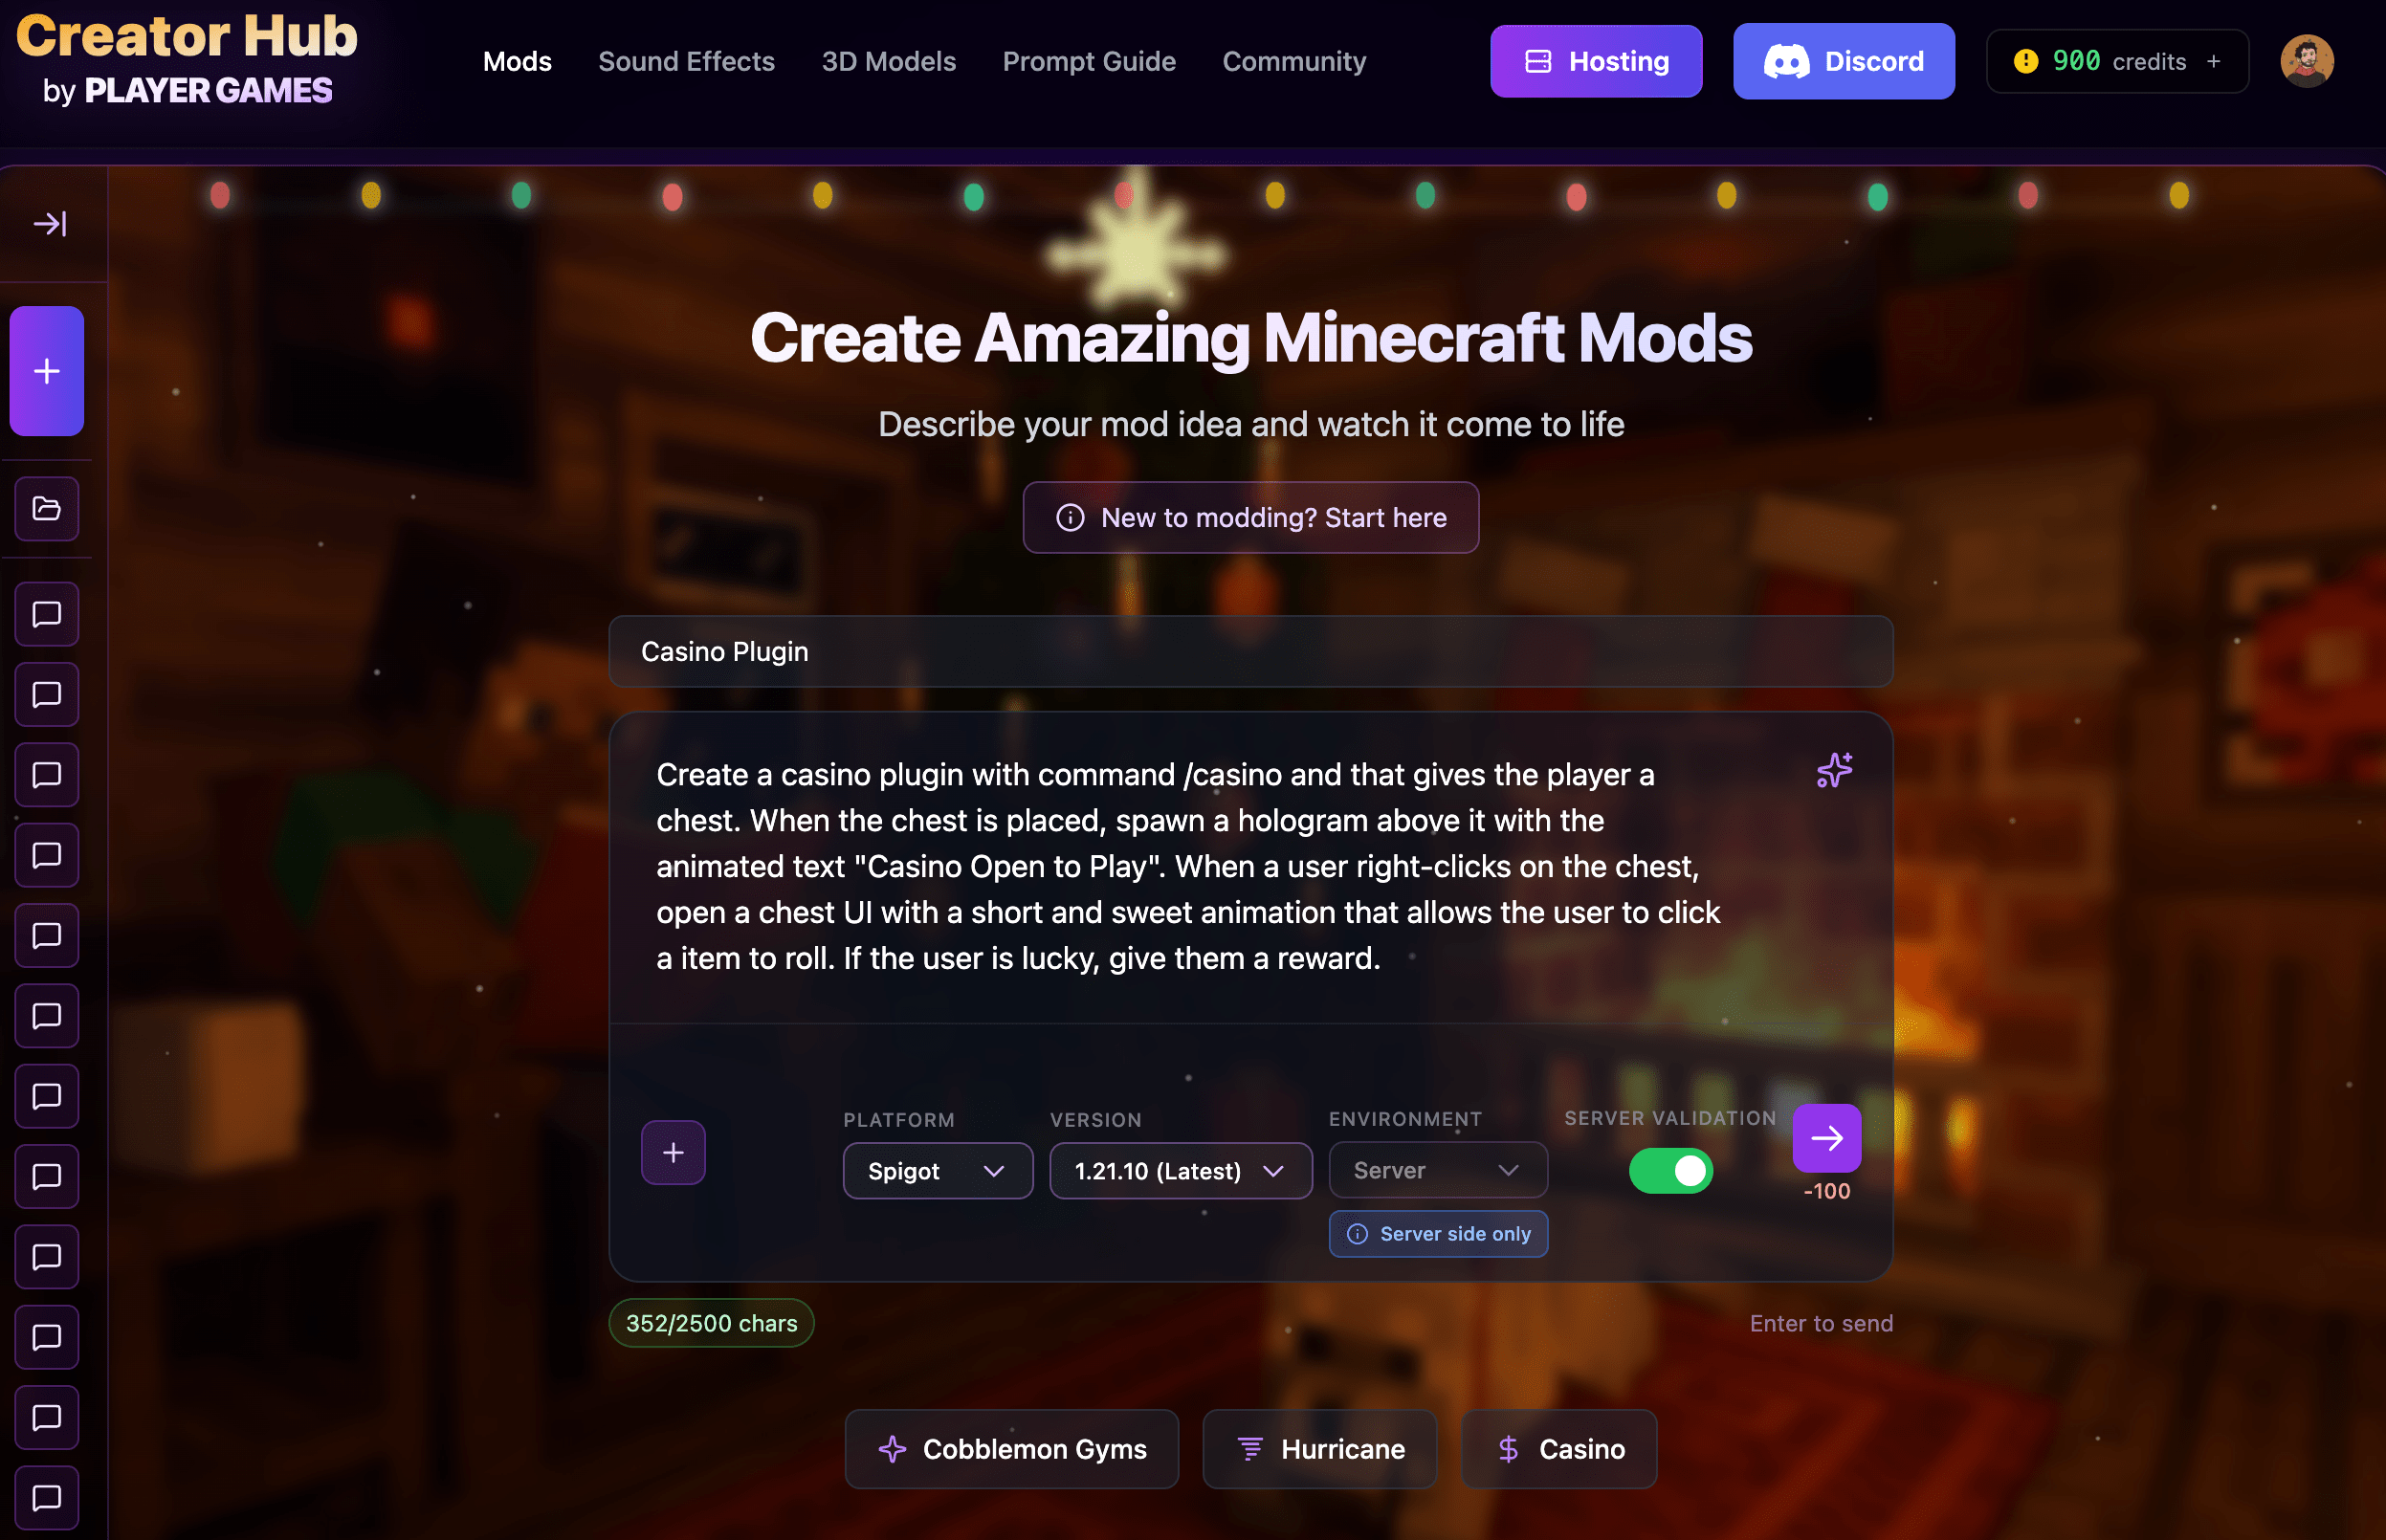
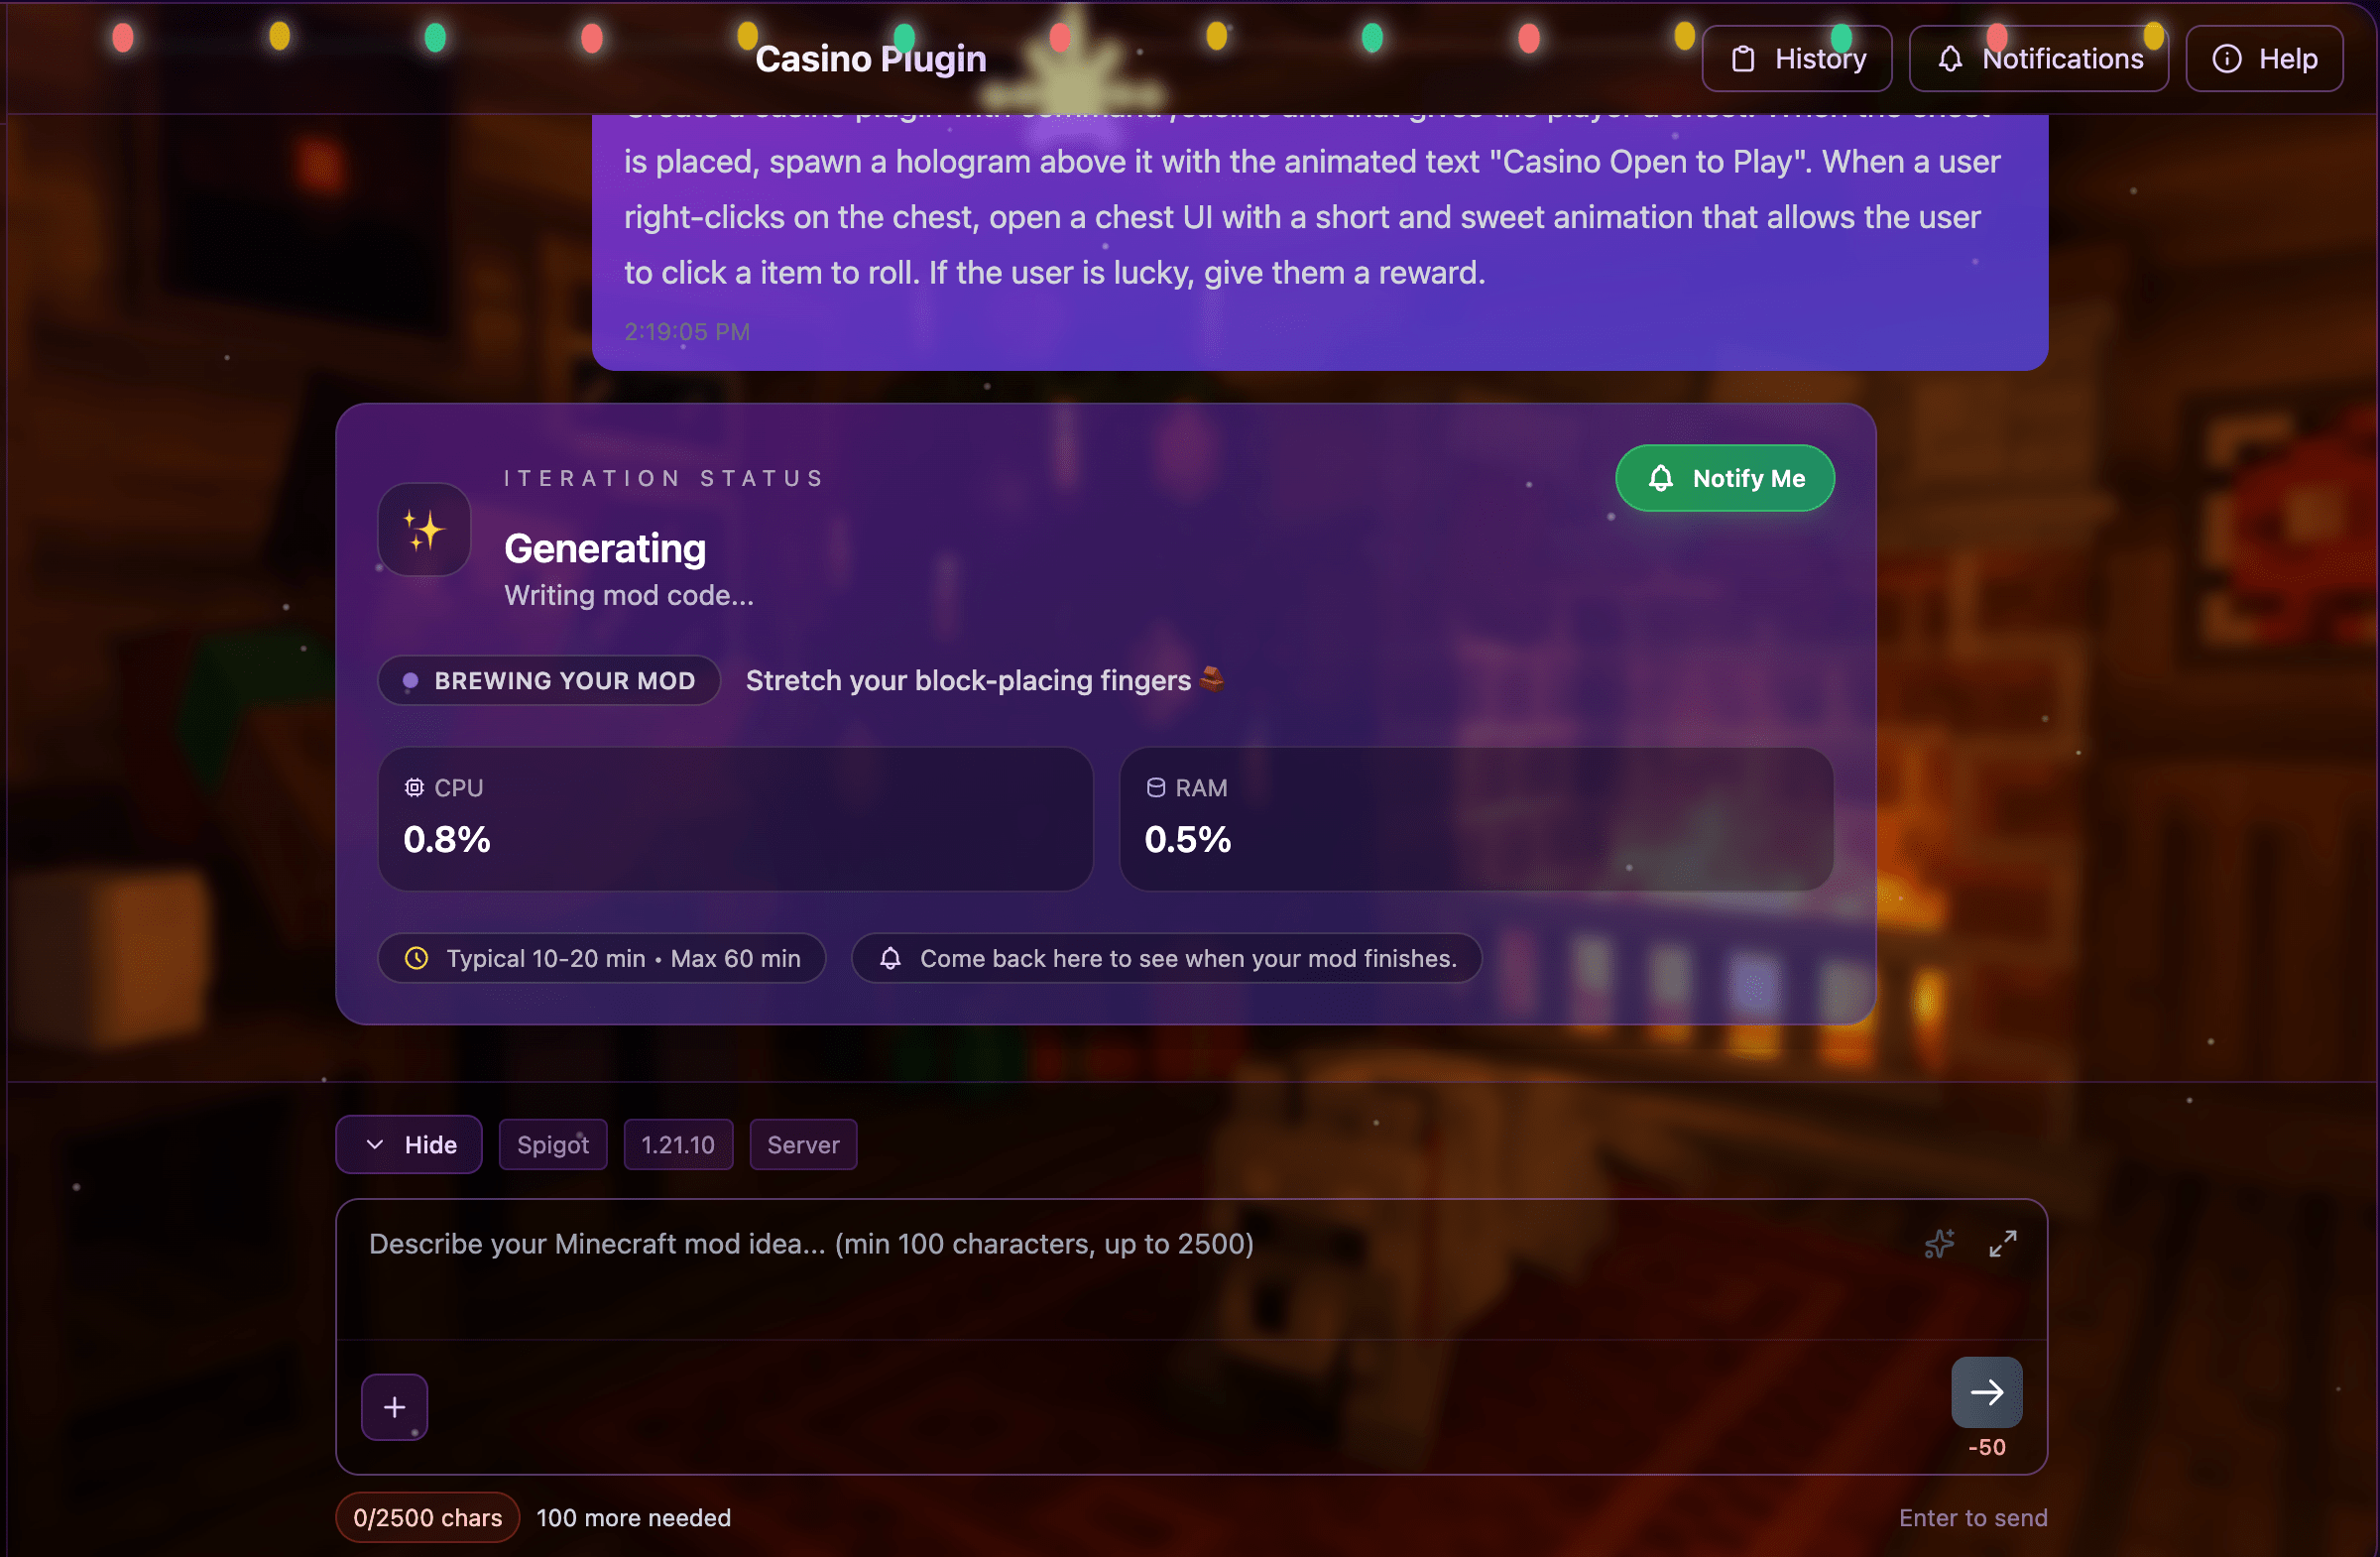
#3. Generate the mod
Start the generation and wait for the build to finish.
If the first result is close but not perfect, that's normal: you'll iterate in a later step.
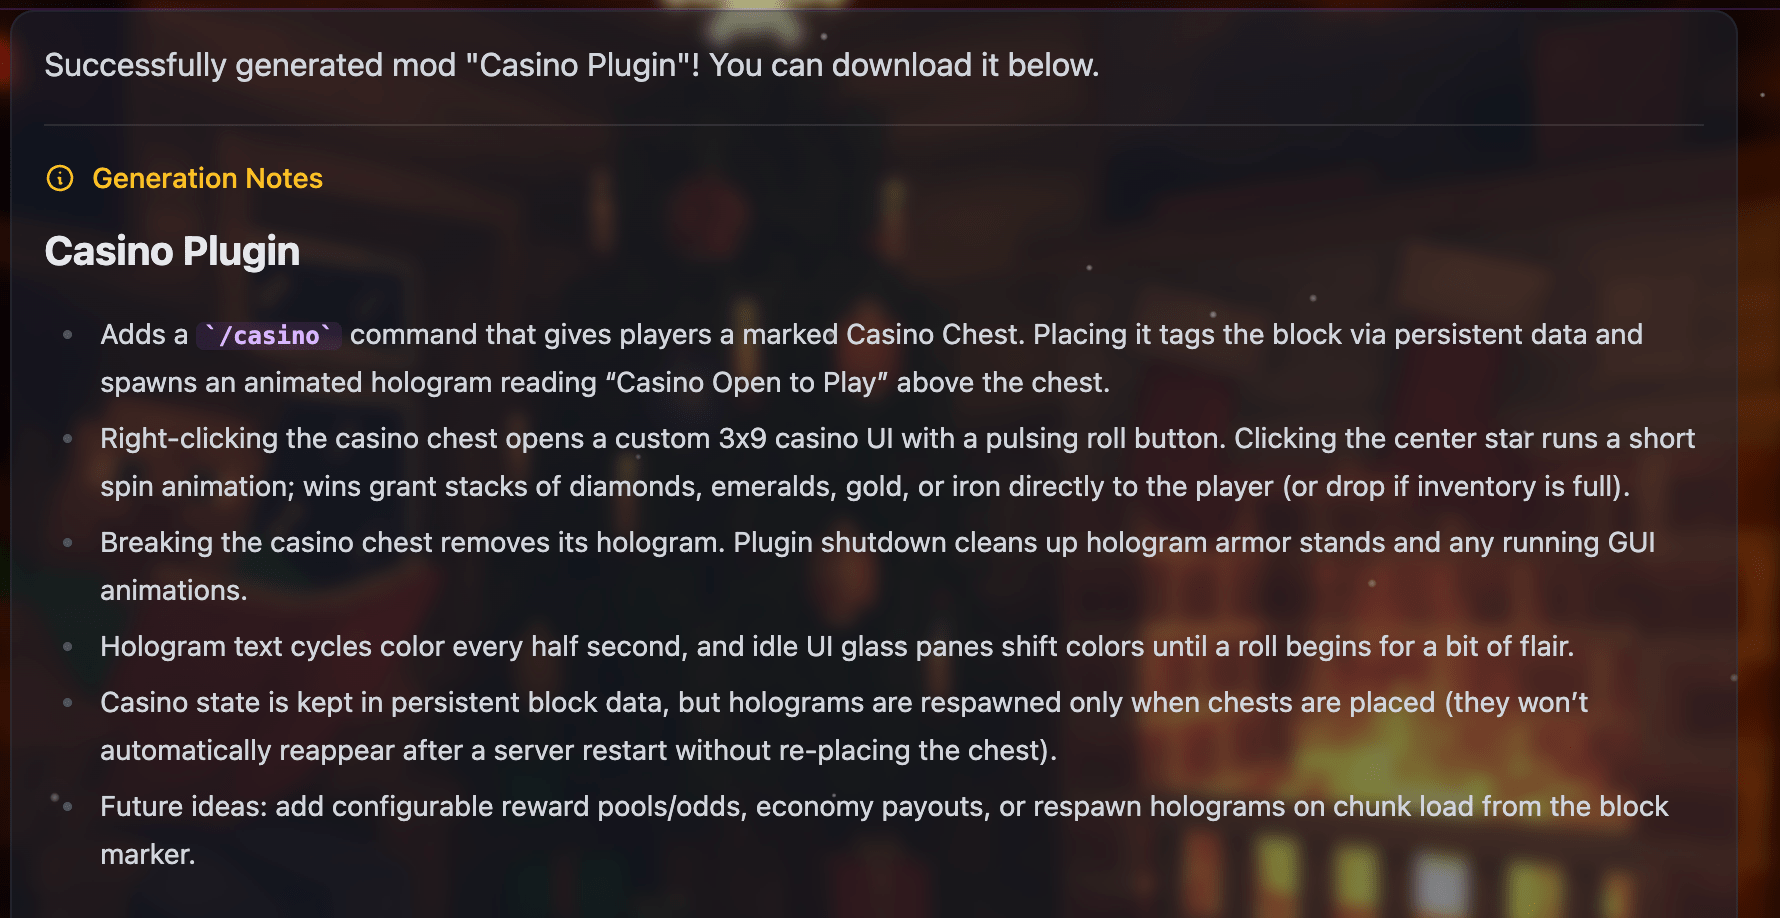
#4. Review the output and notes
Skim the generation notes and confirm the mod matches your intent.
Look for edge cases (multiplayer behavior, performance, item duplication, and any unintended loops).
#5. Download and install the mod
Download the built mod artifact and install it like any other Minecraft mod or plugin for your chosen platform.
Test in a fresh world or separate server first to avoid impacting your main save.
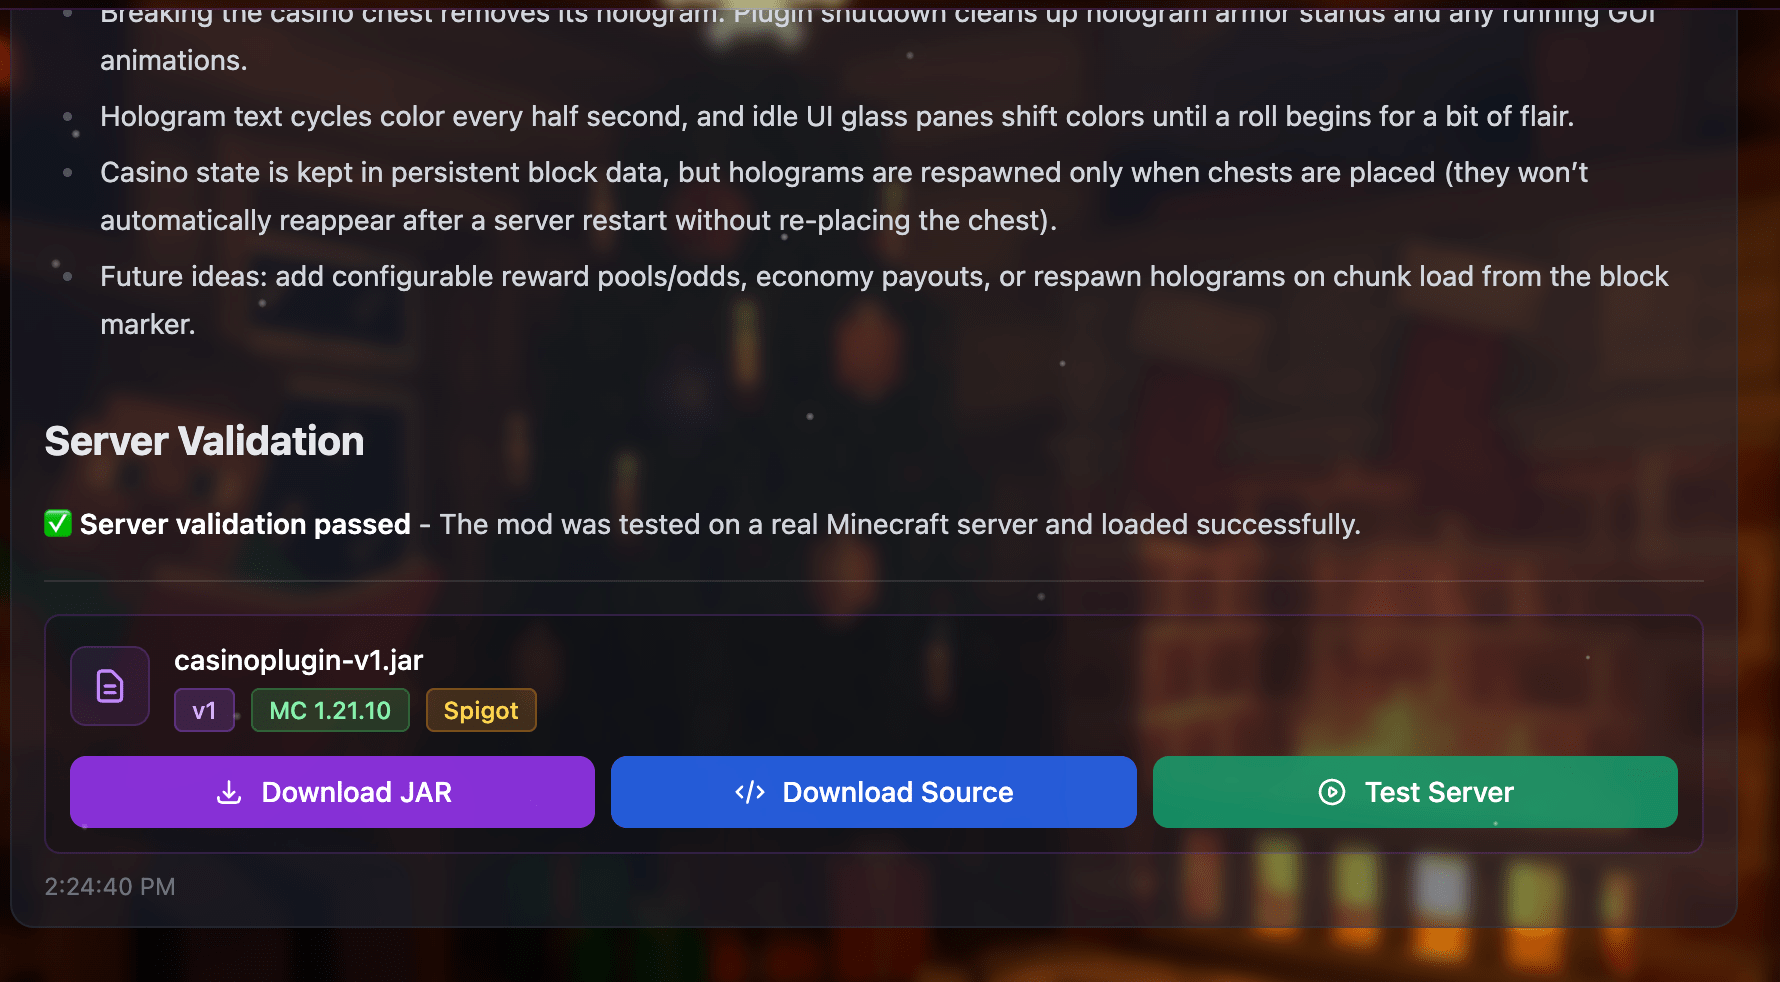
#6. Test the build in the right environment
Eligible paid users can click Launch server on a completed, server-only Paper or Spigot artifact. The server is ready for up to five players and runs for 30 minutes after startup.
For Client and Both artifacts, download the build and test it locally with Loom instead.
Try the core features, then intentionally try to break them (spam actions, relog, chunk reloads, and multiplayer interactions).
#7. Iterate: write an improved prompt
Use what you learned in testing to tighten your prompt: add missing constraints, clarify names, and specify exact values.
If something was ambiguous, explicitly state the desired behavior for that scenario.
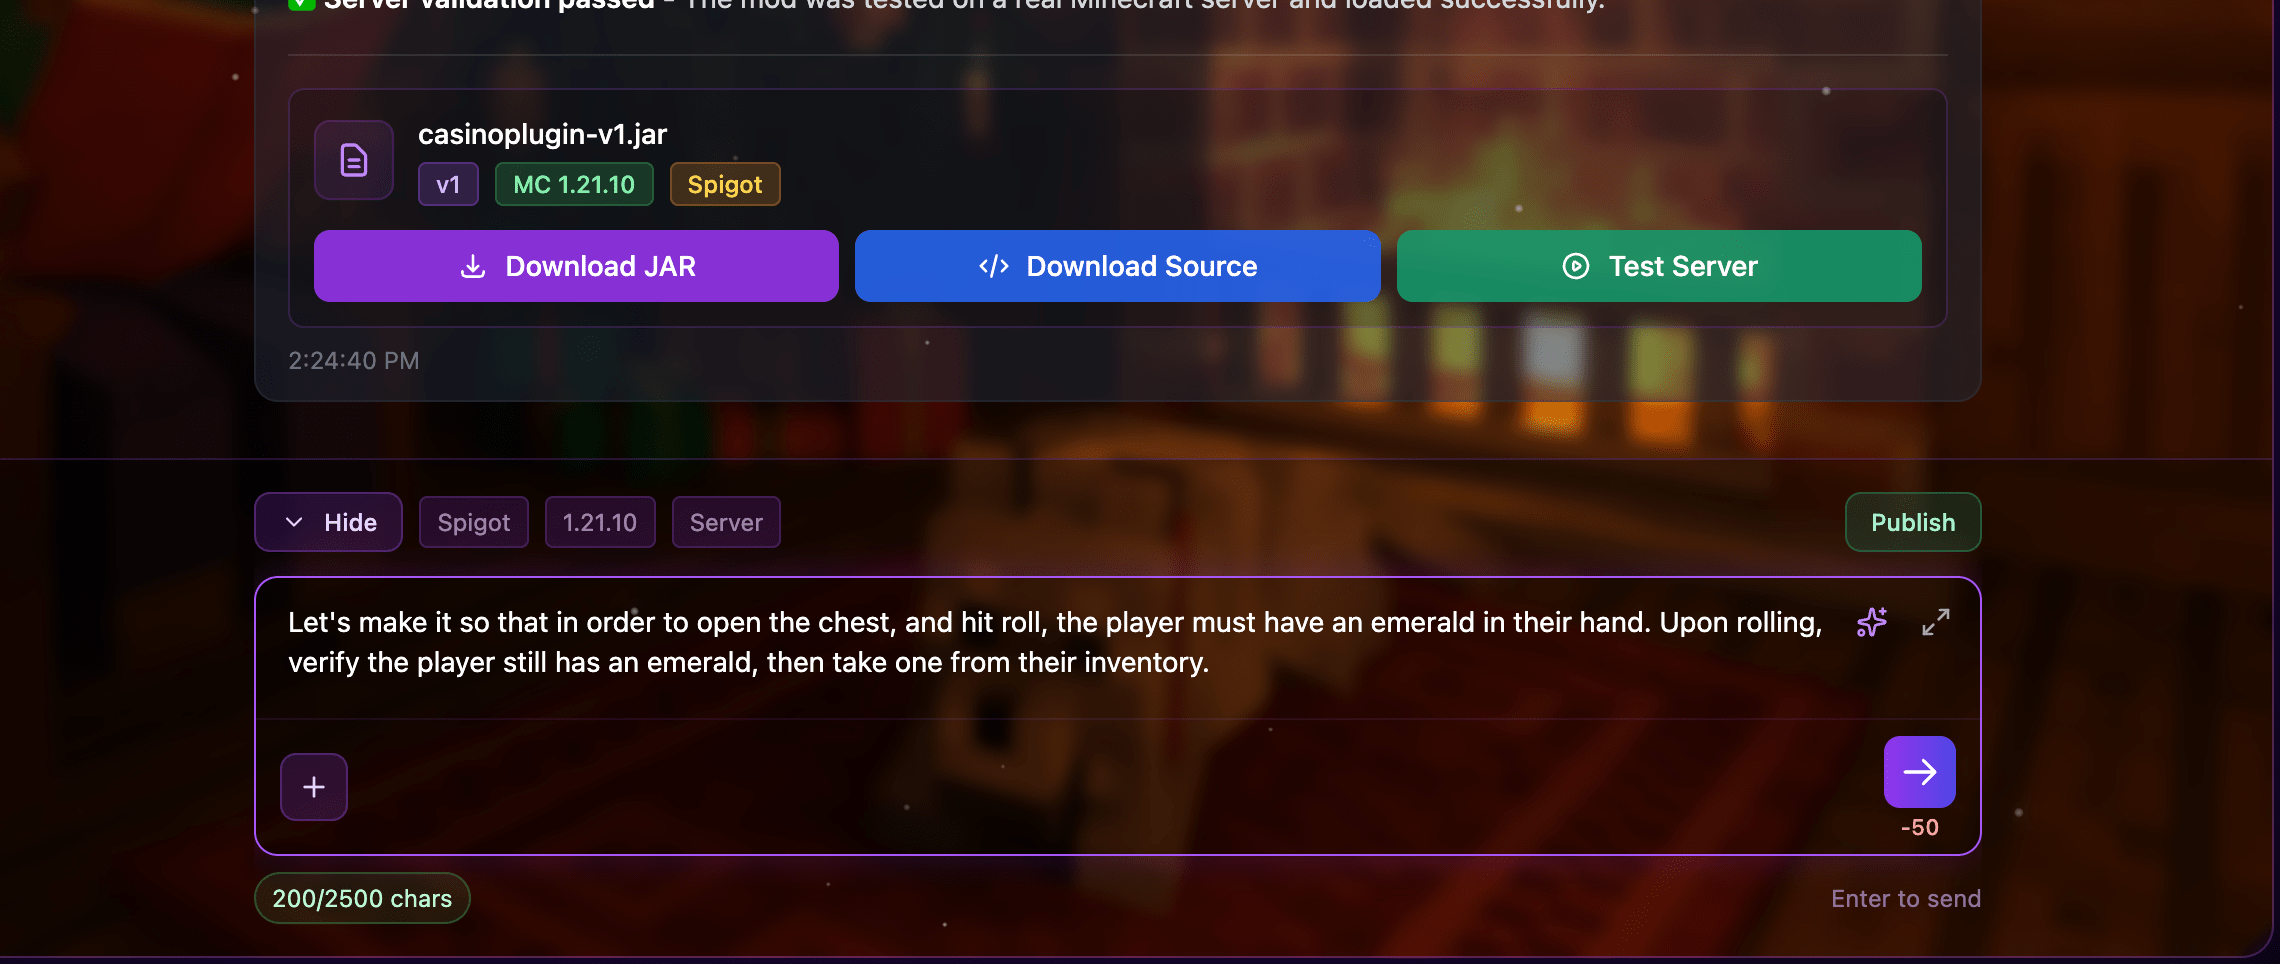
#8. Regenerate and compare the new build
Generate again with your updated prompt and compare changes against the original behavior.
Repeat the loop until the mod plays the way you want.
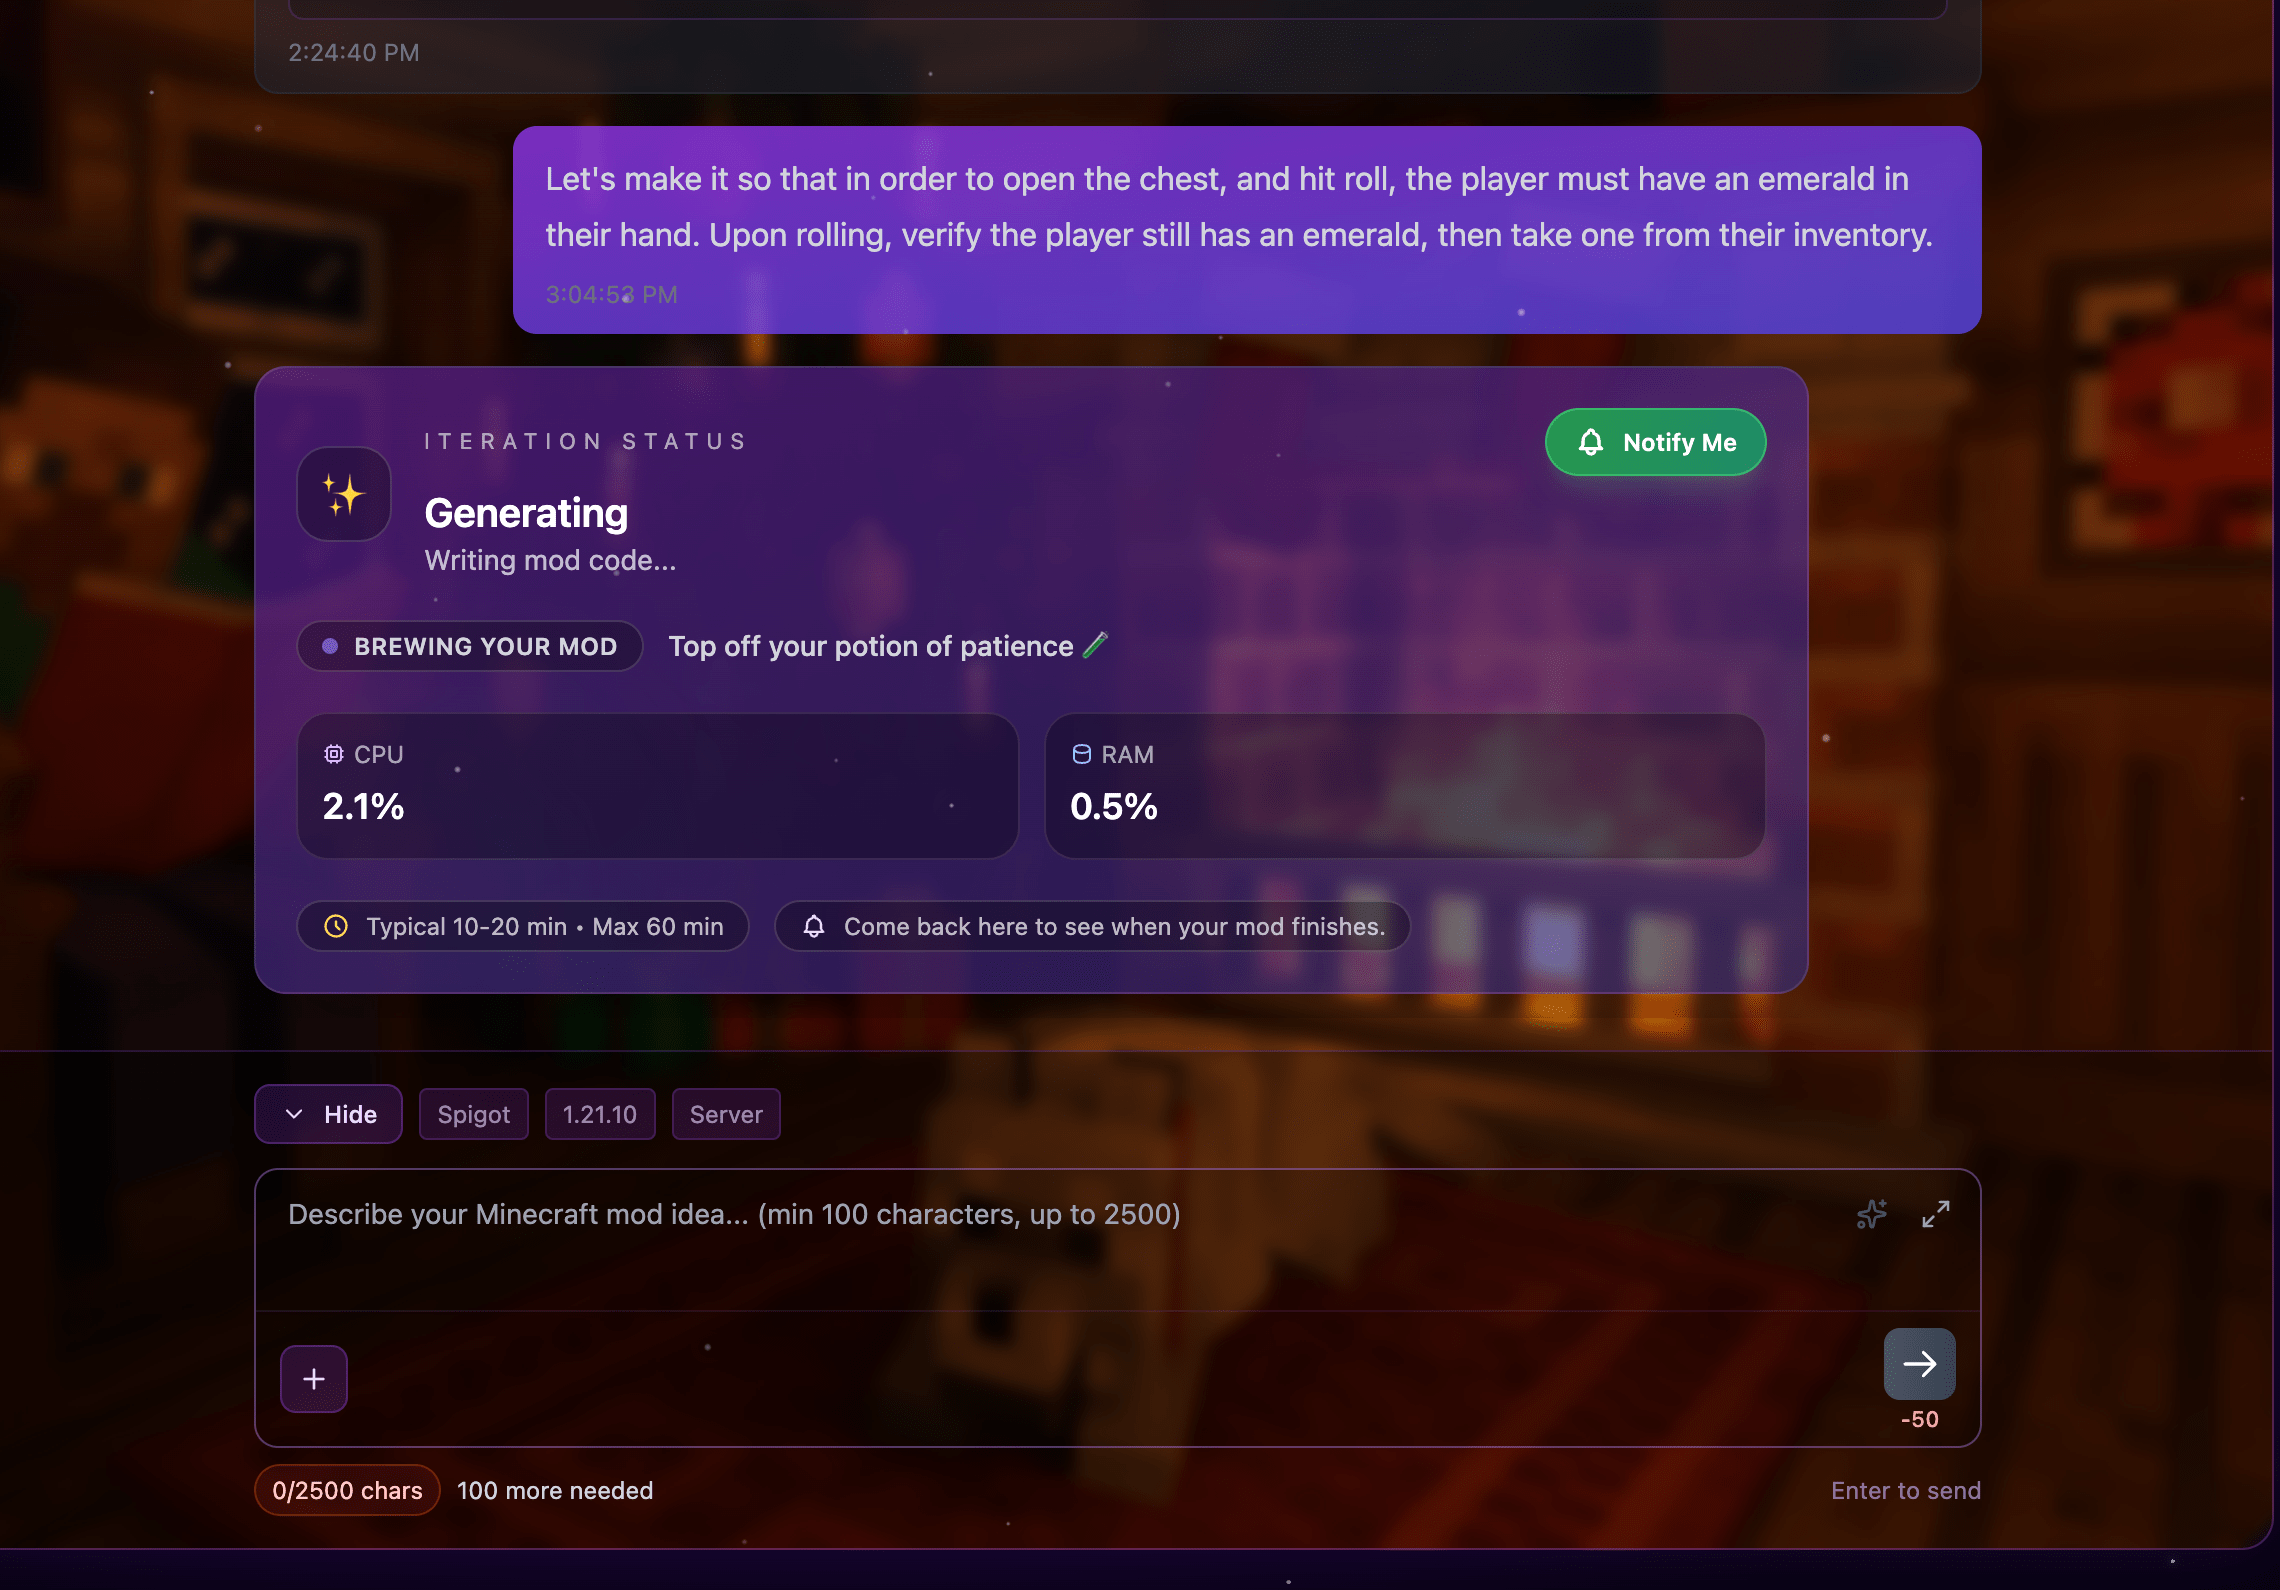
#9. Test the improved build and ship
Repeat the appropriate server or local test, then promote the build to your real server or modpack once it's stable.
Keep notes on your final prompt so you can iterate later without losing context.
Build it yourself
Turn an idea into a working Minecraft mod
Describe it in plain English. Download the build. Drop it in your mods folder. No coding.
Start building